


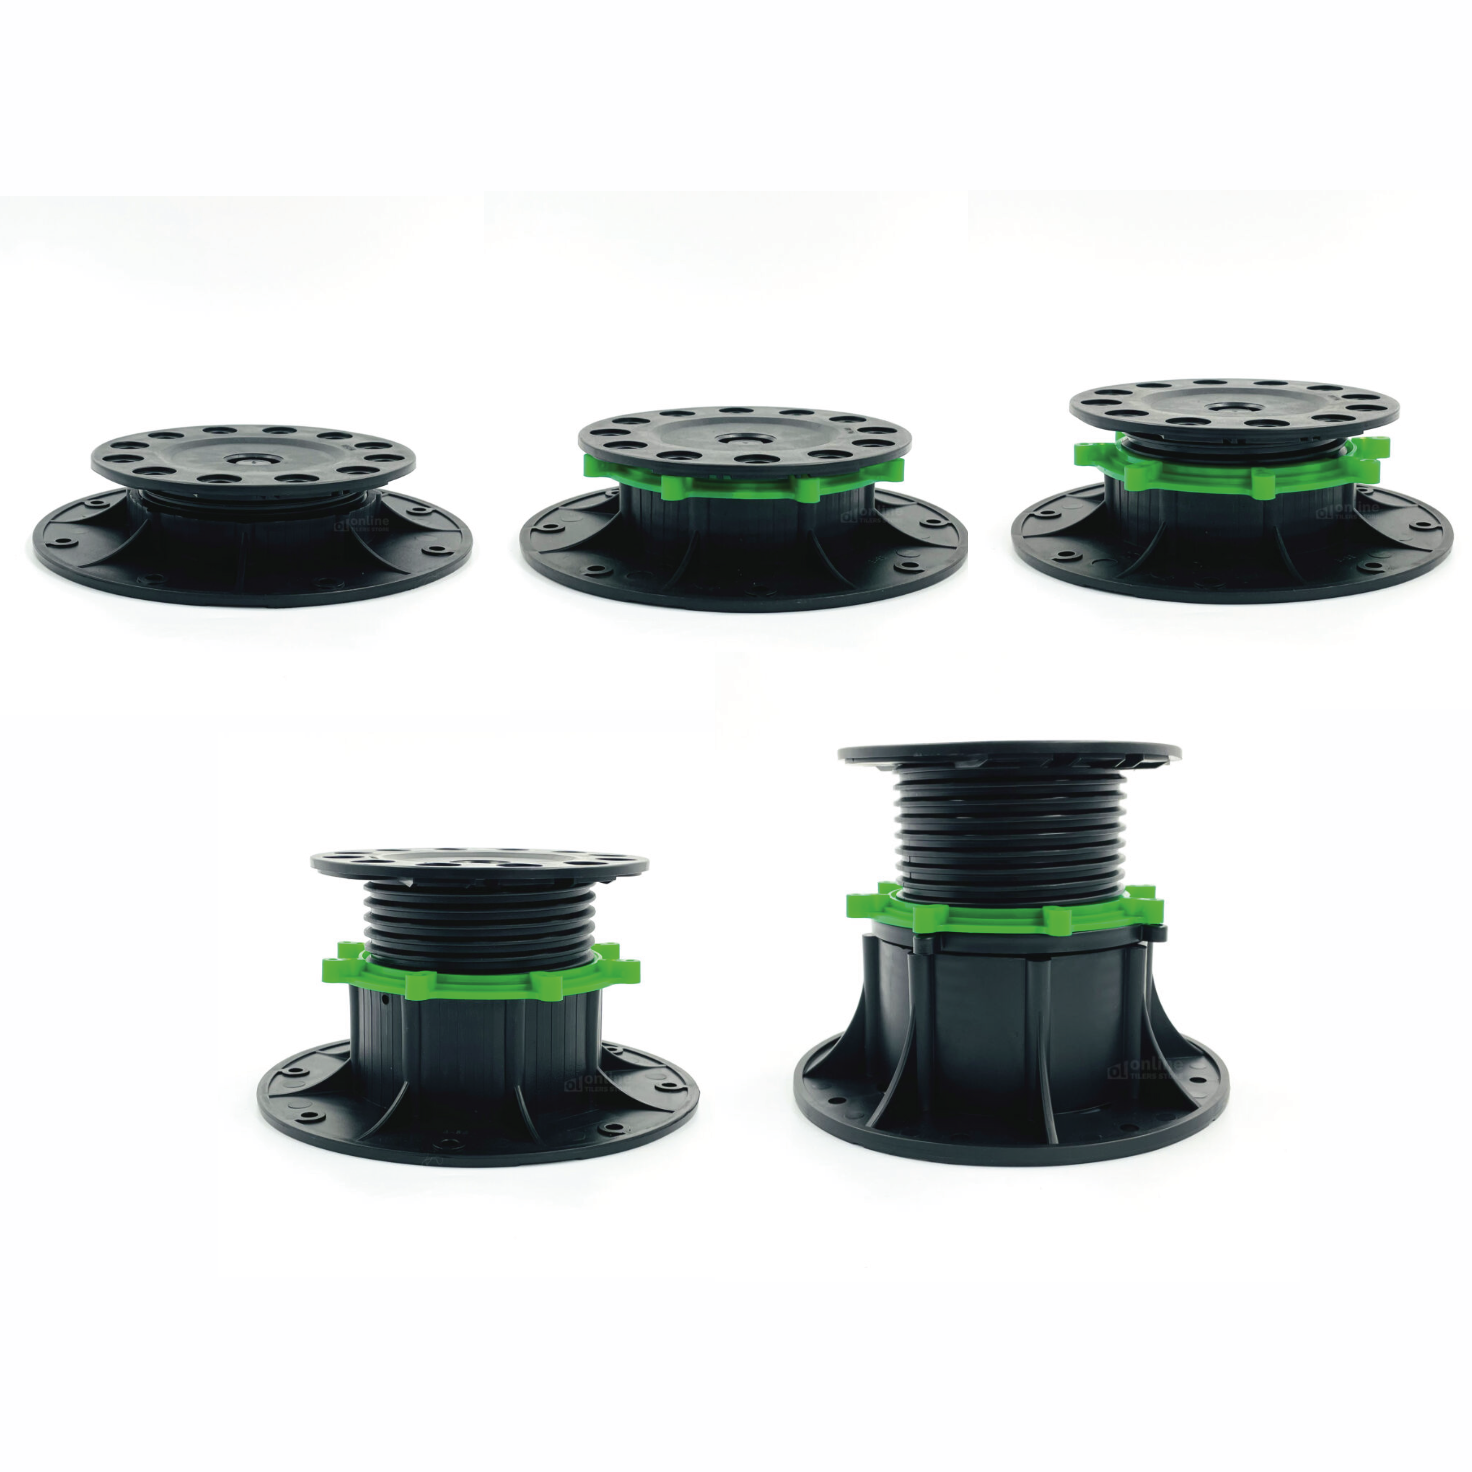




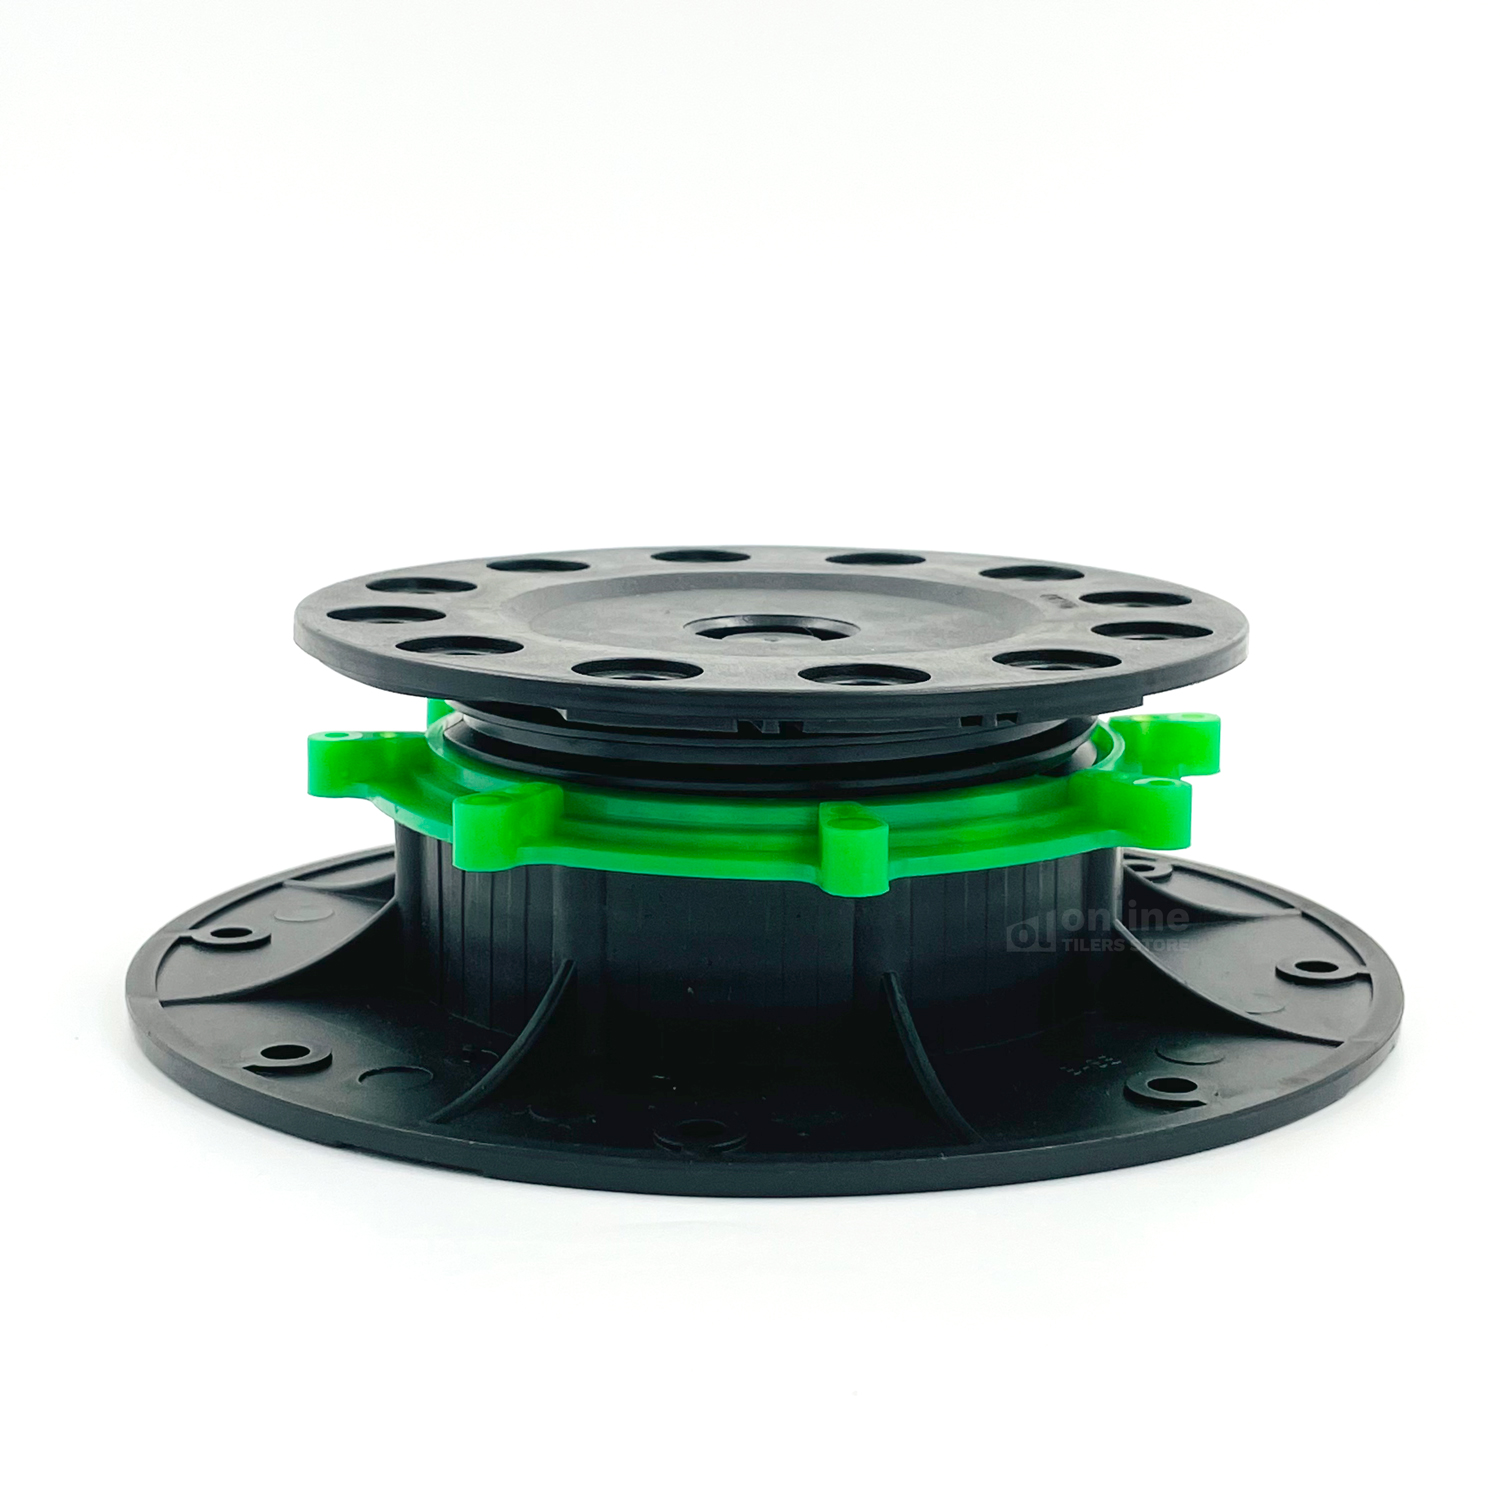
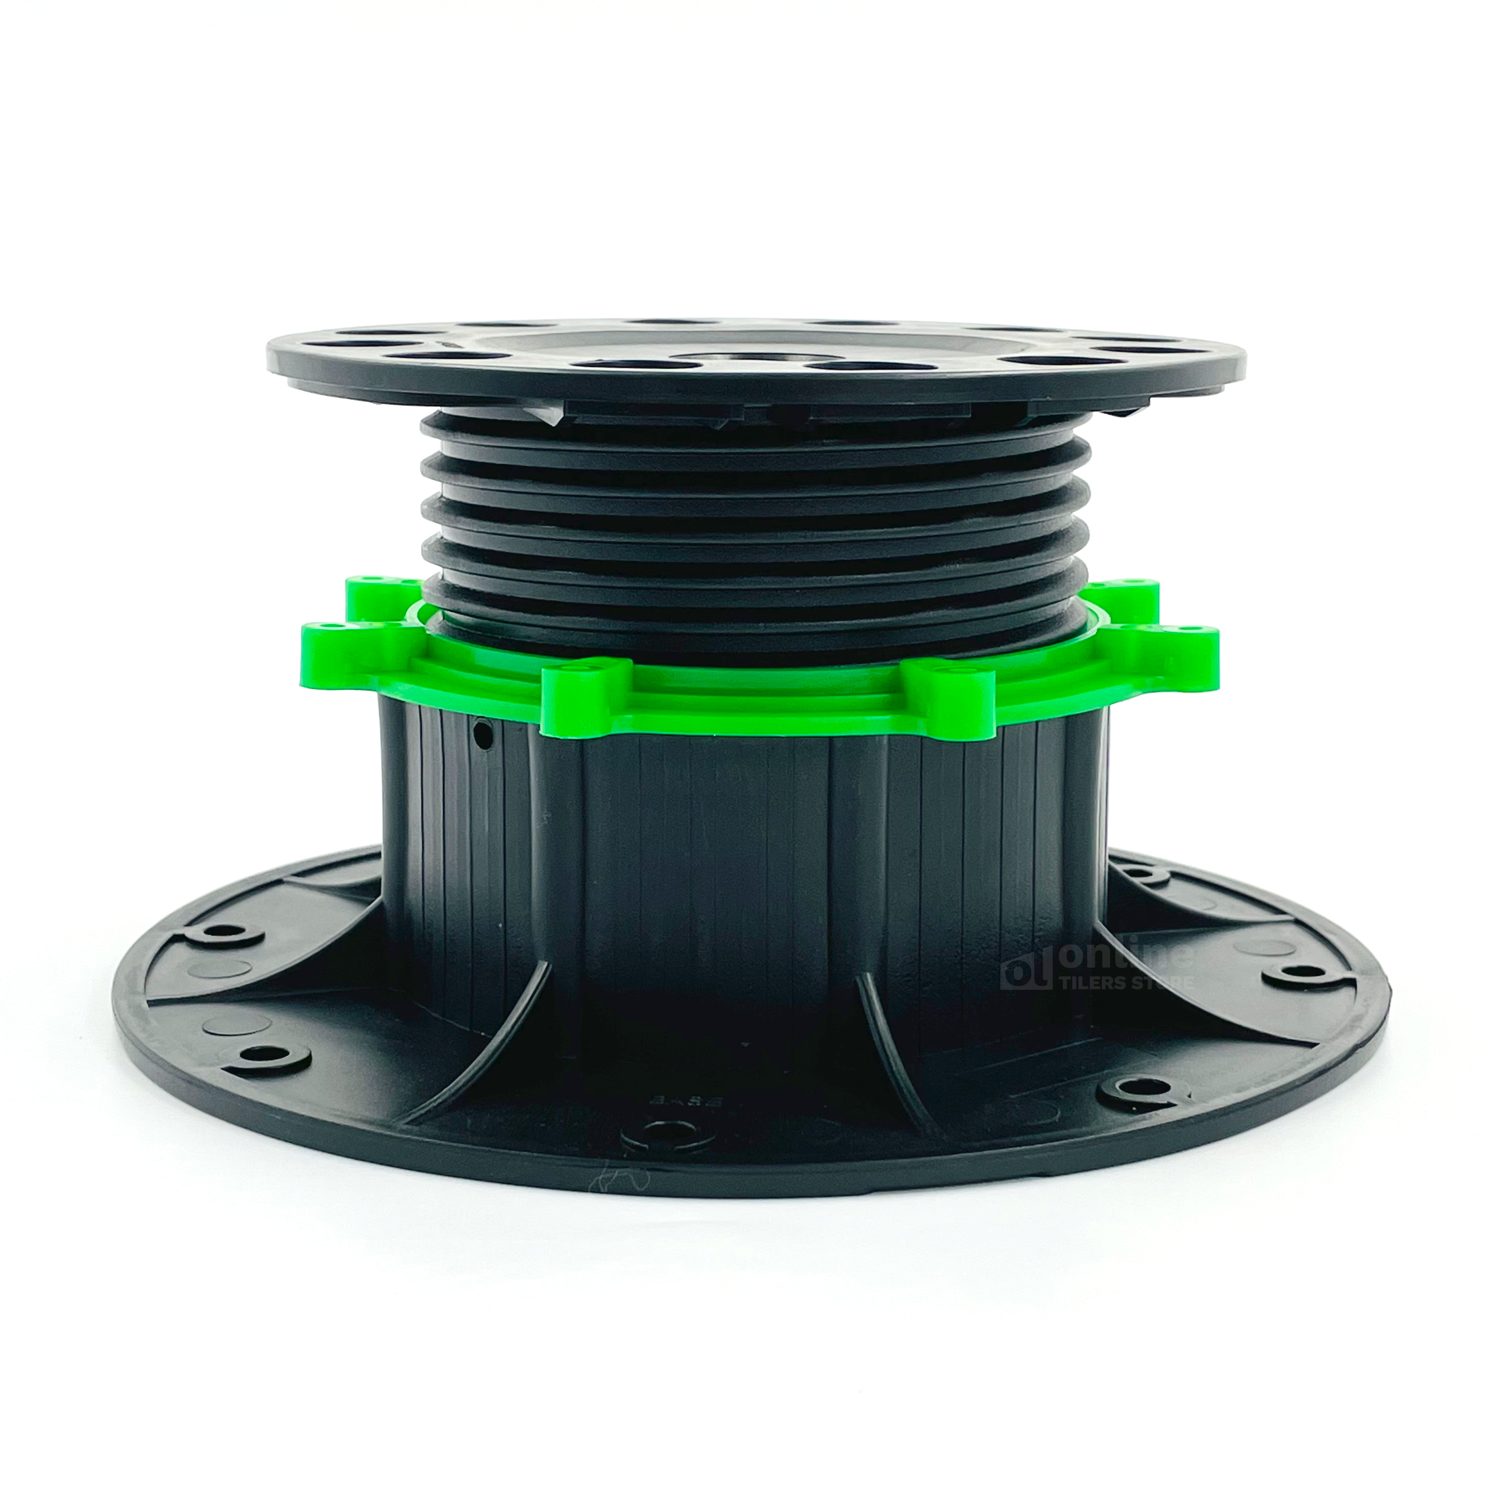
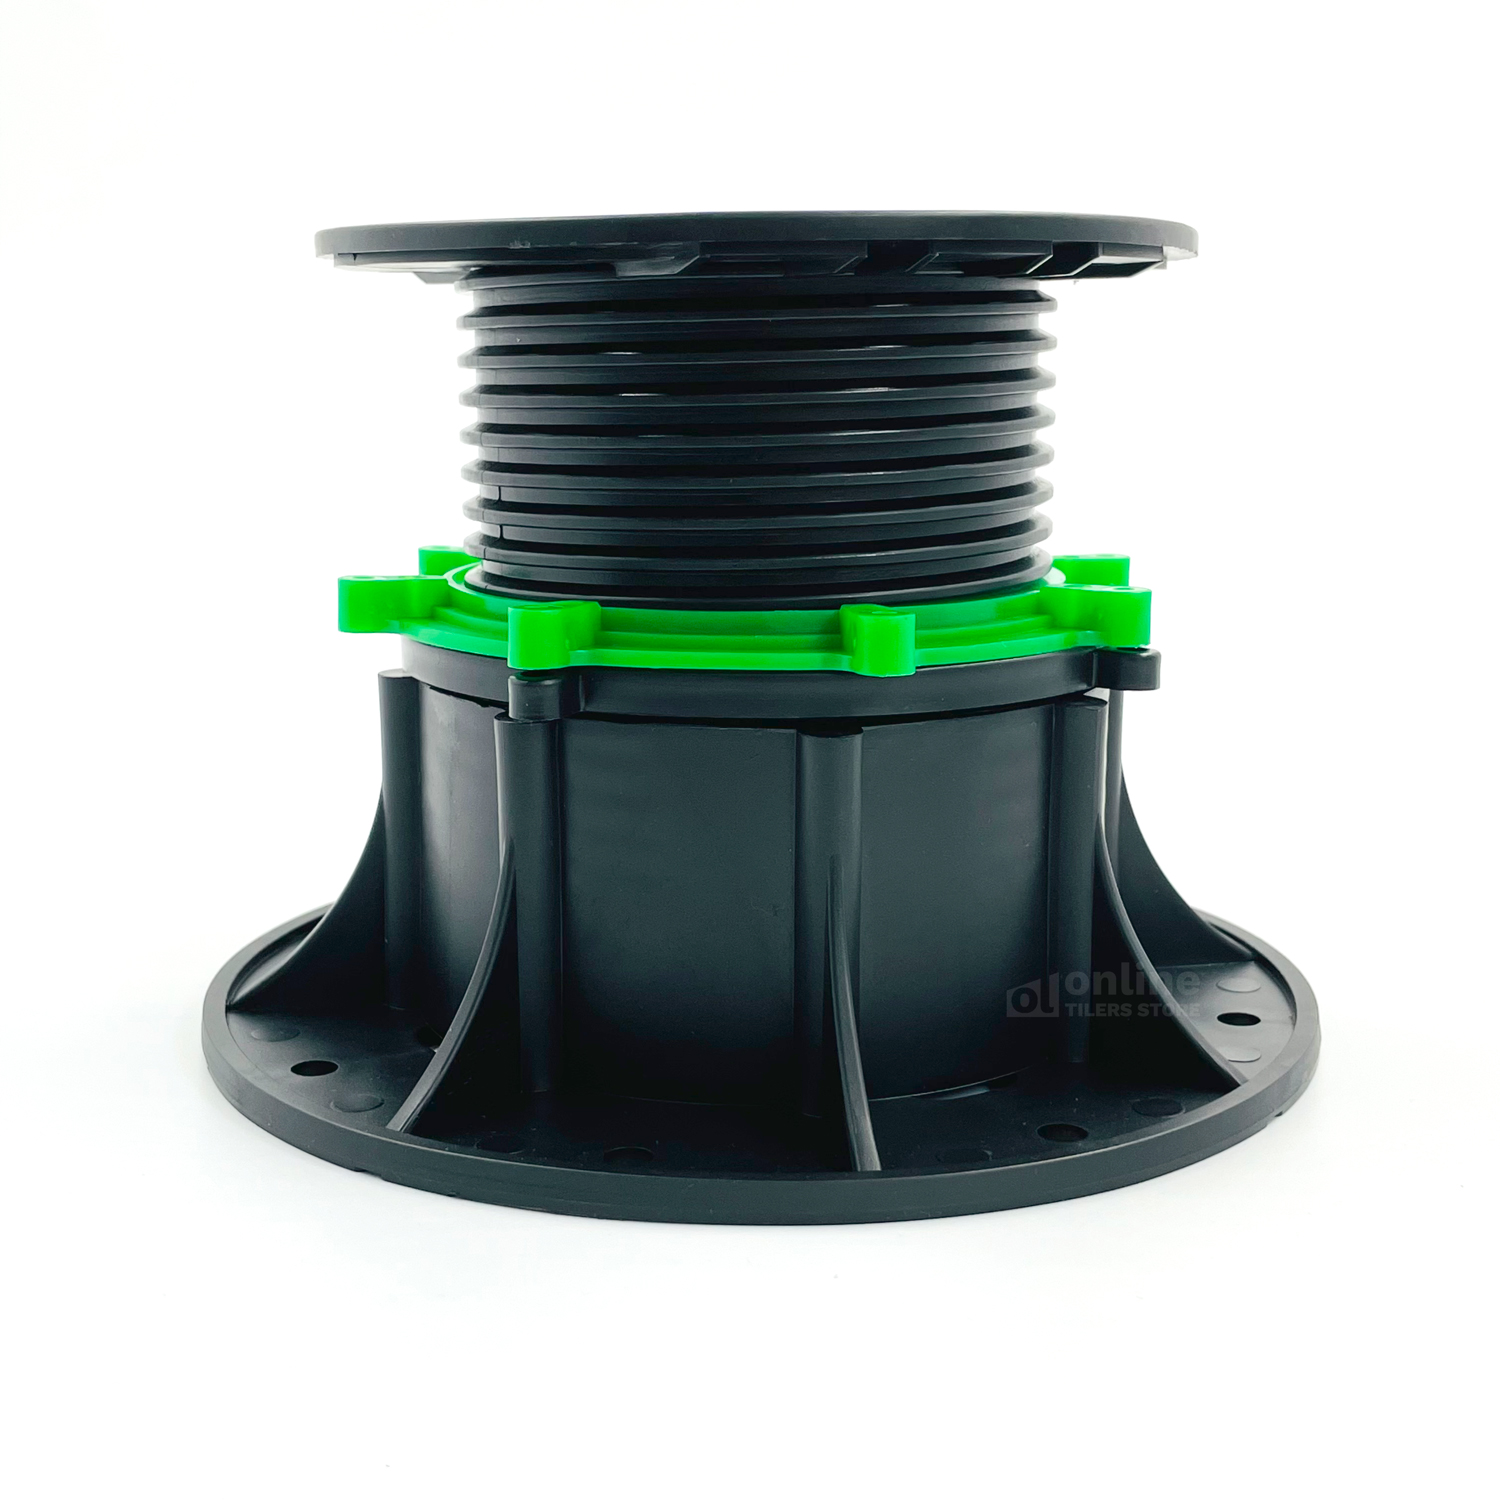
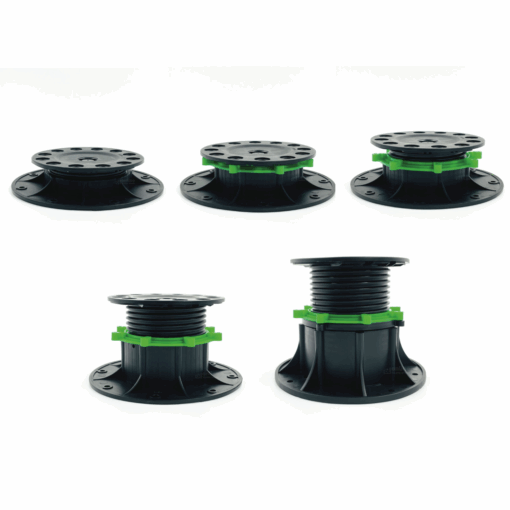


Adjustable Tile Pedestal (5 Sizes)
Price range: $4.50 through $6.80
✅ For orders over 100 pcs, contact us for a delivery quote.
*Note: Online prices and stock availability apply to online purchases only and may differ in-store.
Adjustable Pedestal System – Key Features
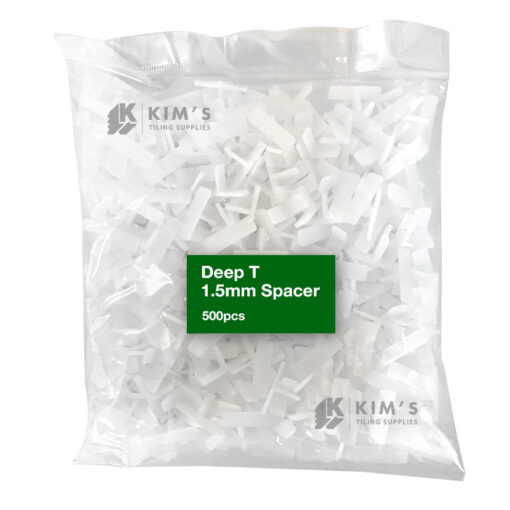
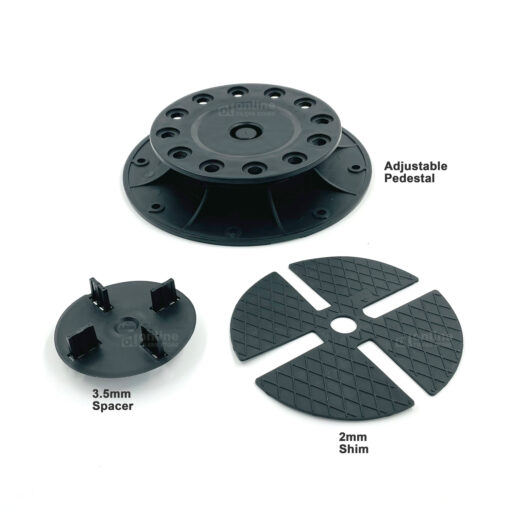
Each package includes:
-
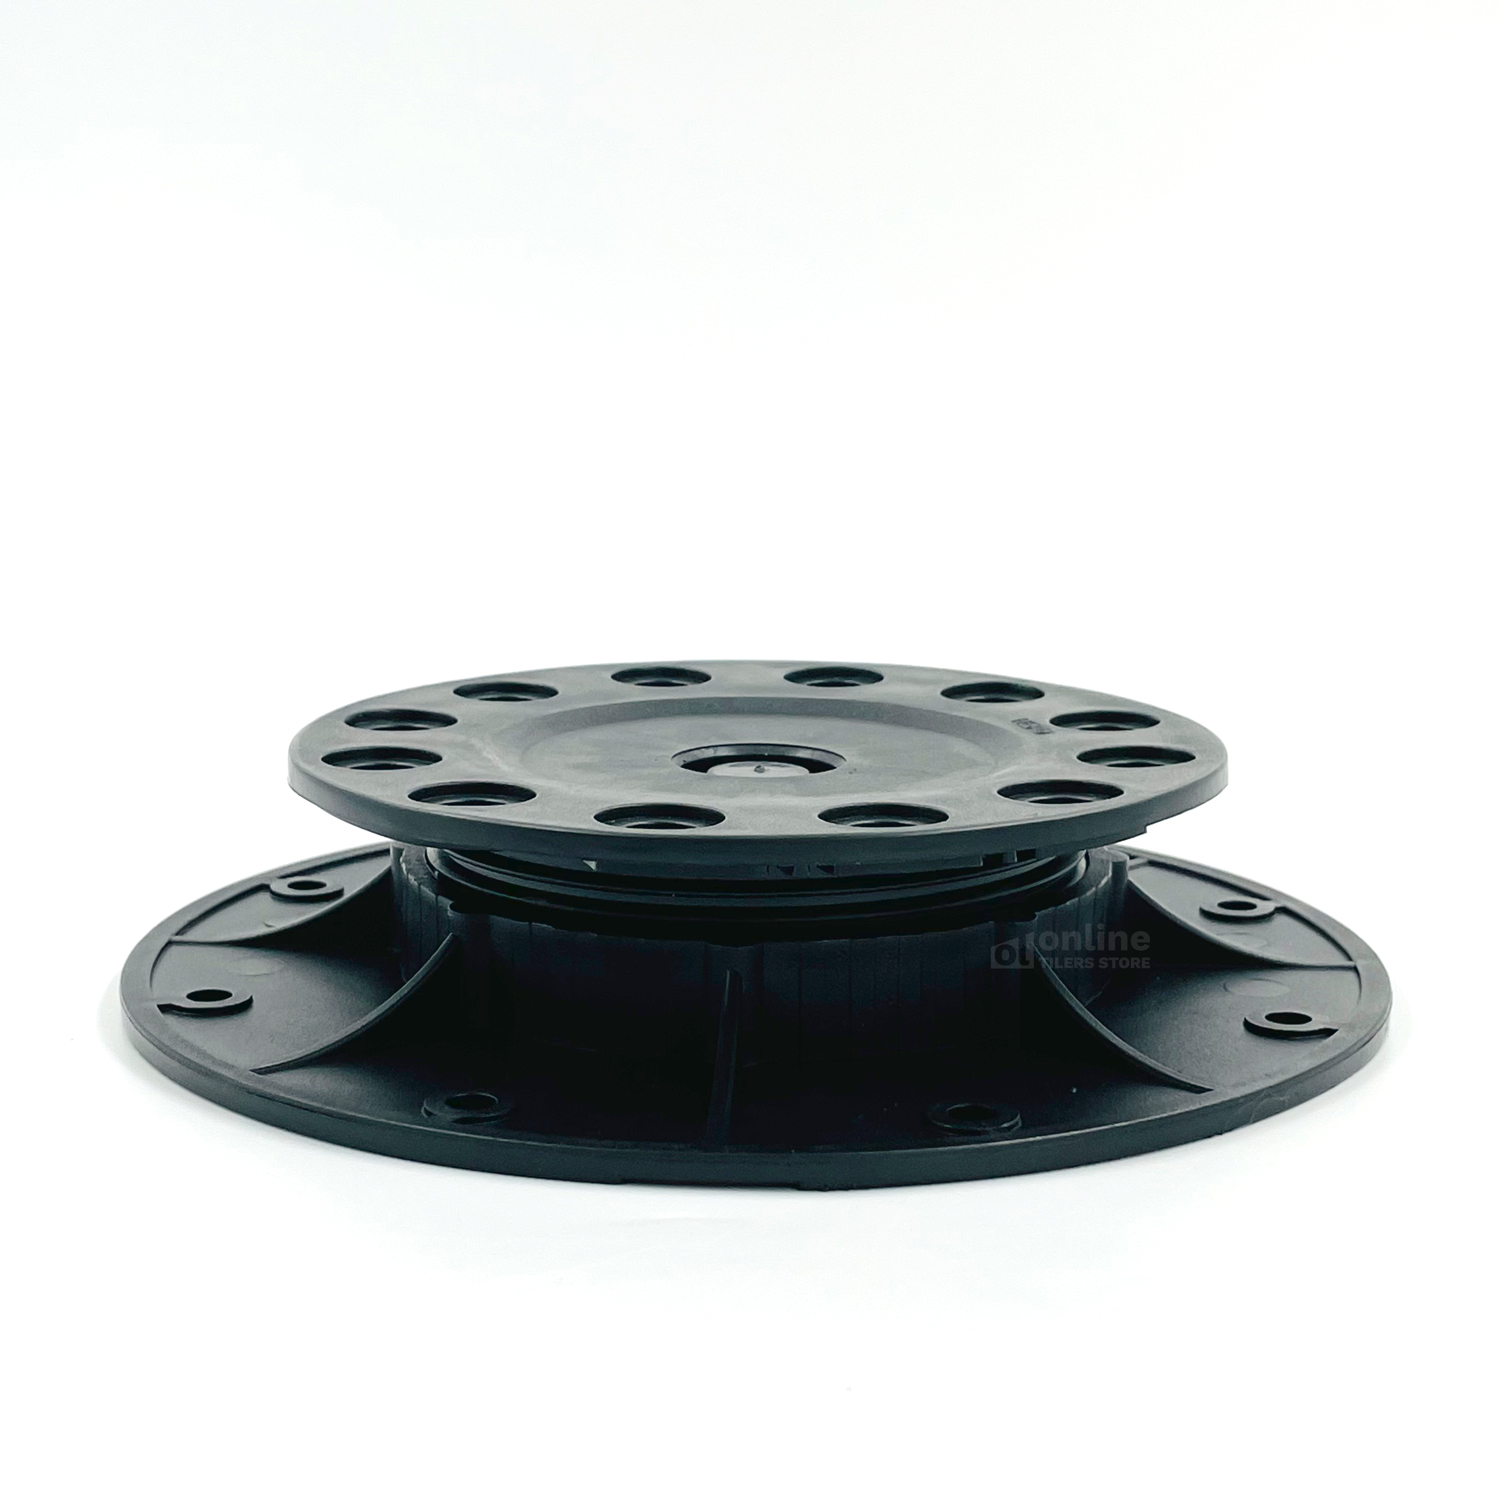
Adjustable Pedestal
-
Spacer
-
Shim
Features:
-
Easy to install and lightweight
-
High compressive strength
-
Progressive height adjustment
-
Integrated top slope correction
-
Easily removed and re-used
How to Install the Adjustable Pedestal System
-
Measure the total paving area to determine how many pavers and pedestals are required.
One screwjack adjustable pedestal is typically needed per paver or approximately per linear metre of beam support.-
600×600 mm tiles: 3 pcs/sqm (add 10% extra for wastage)
-
500×500 mm tiles: 4 pcs/sqm (add 10% extra for wastage)
-
400×400 mm tiles: 6.5 pcs/sqm (add 10% extra for wastage)
-
-
Calculate the pedestal height:
Tile surface height − tile thickness = required pedestal height. -
Use sight or laser lines to mark the intersection points where each paver corner will sit.
-
Adjust the 0–5% slope corrector to compensate for ground slope, ensuring a perfectly level finished surface.
-
Position the screwjack pedestals (without spacer tabs for edges and corners).
If necessary, cut along the score lines on the pedestal base to fit against walls or into corners. -
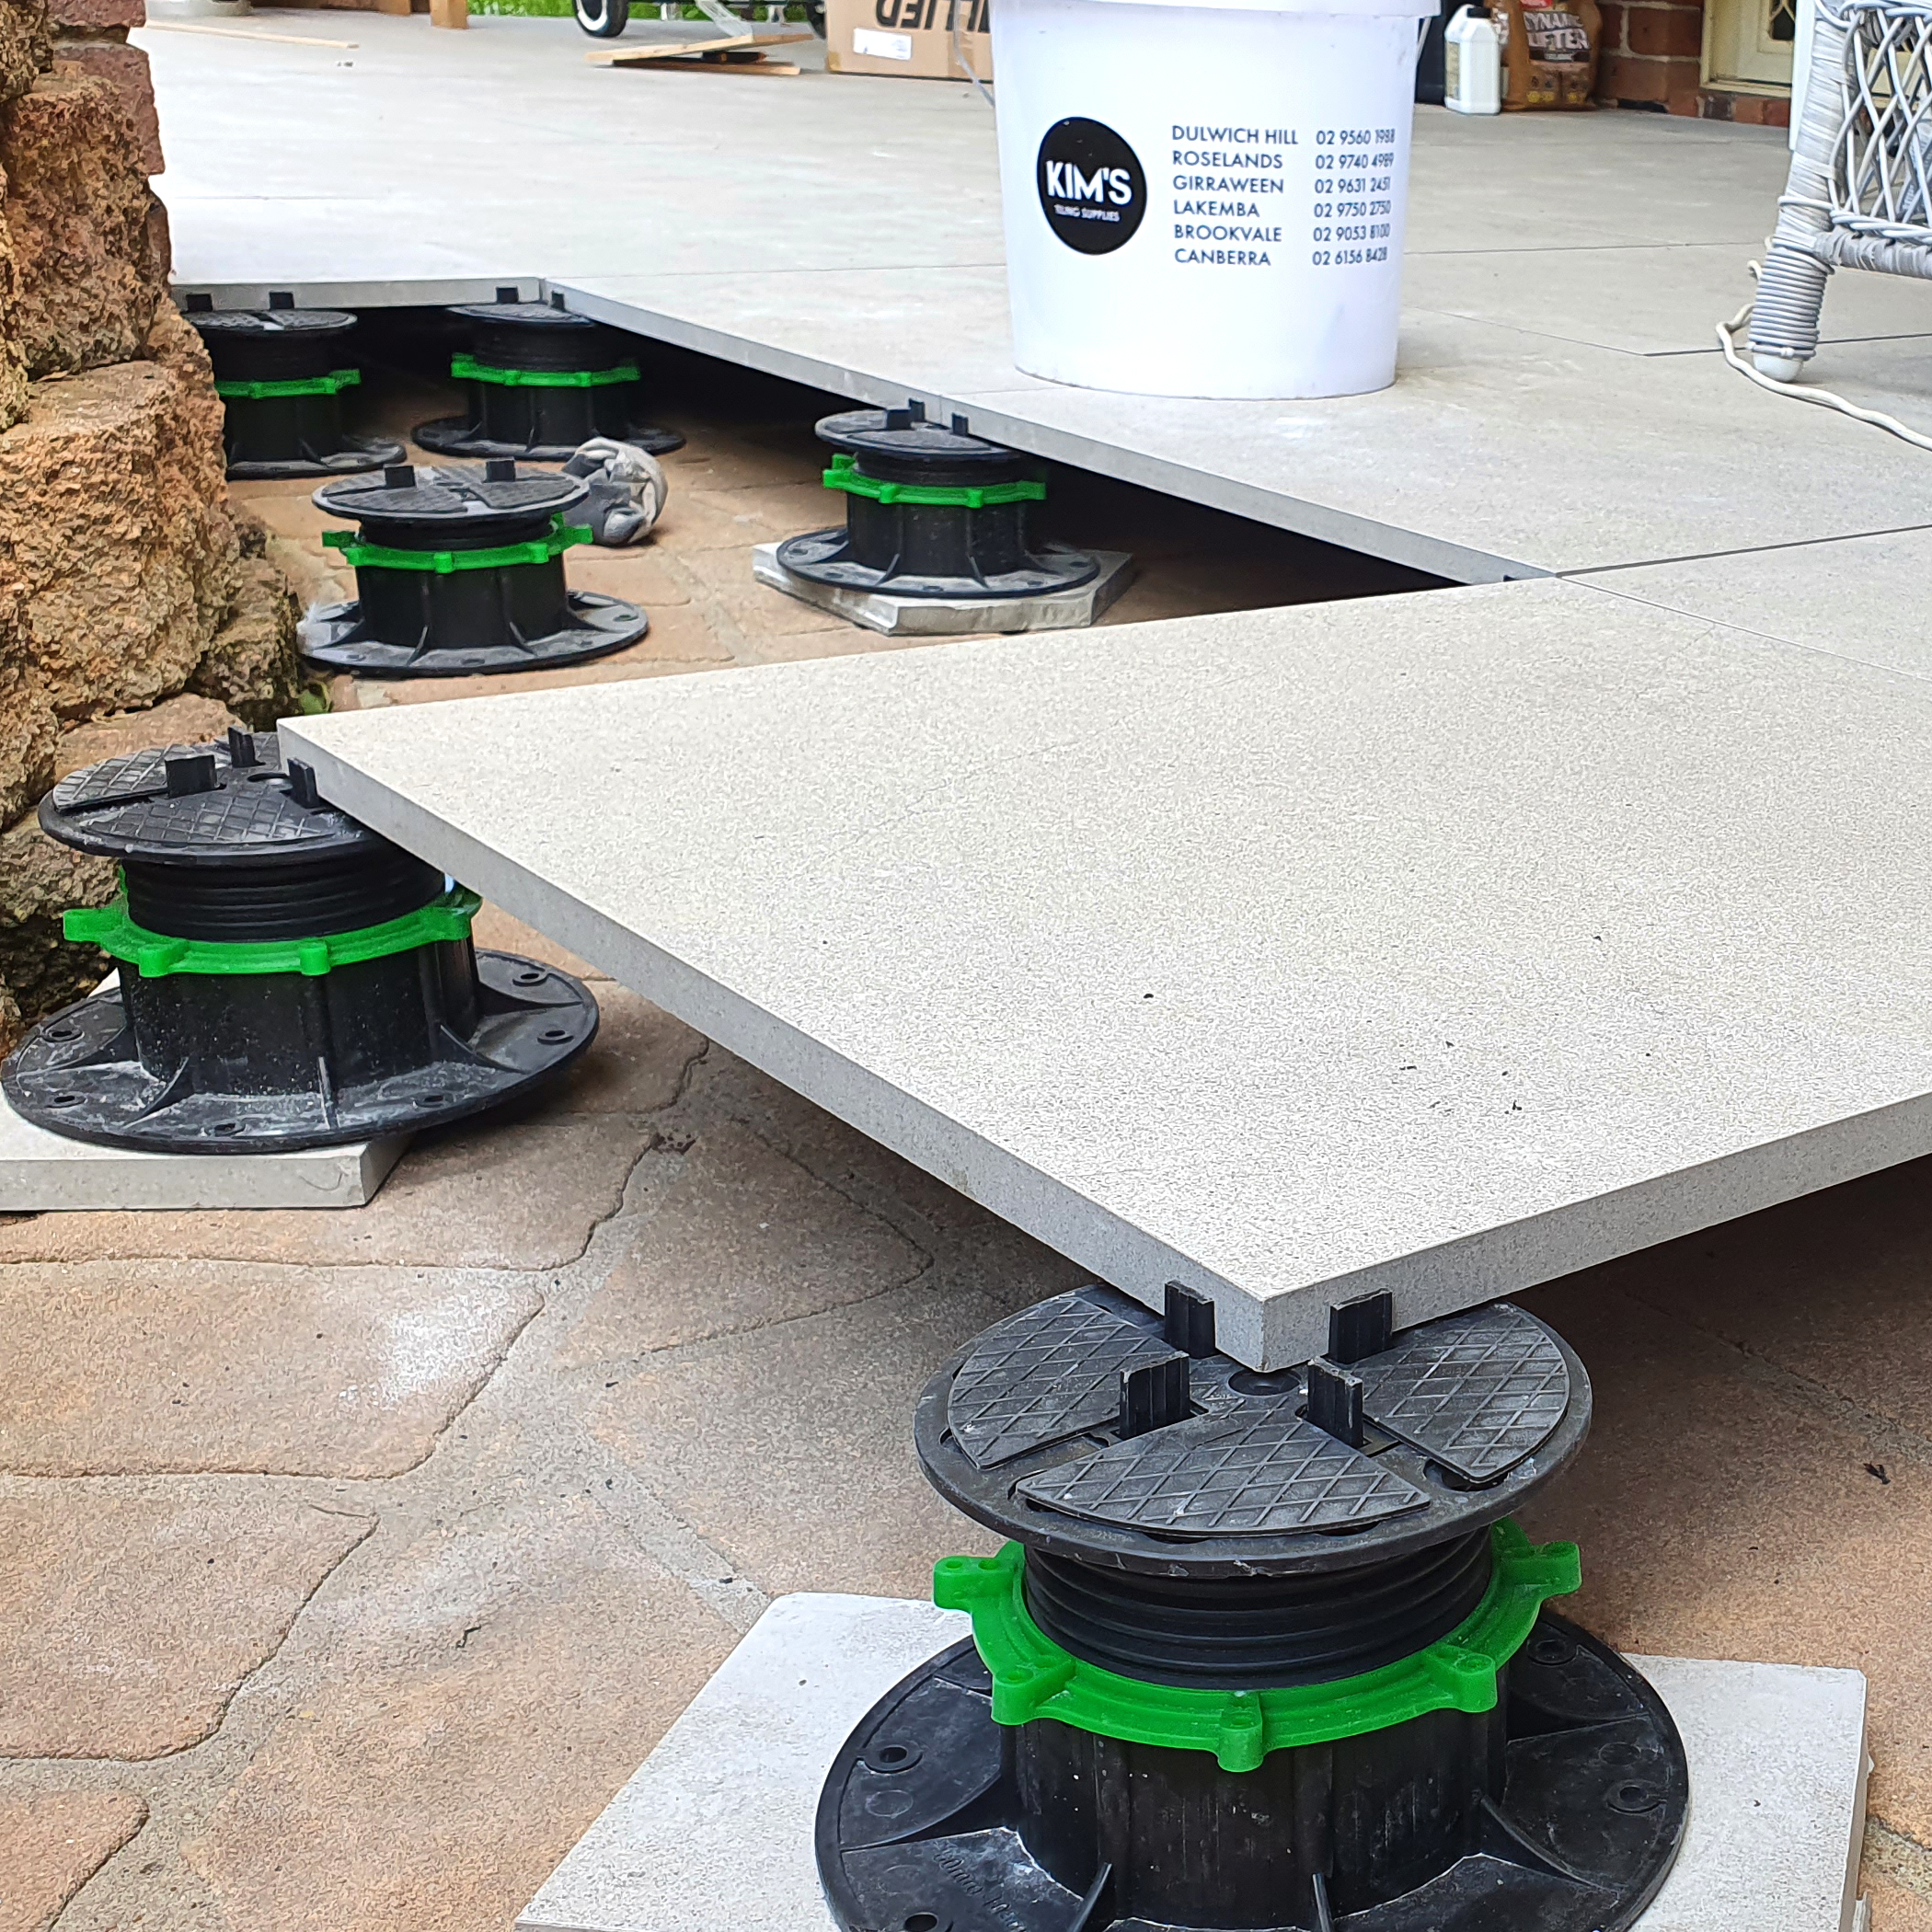
Install the pedestal system and tiles one by one, using leveling tools as needed.
-
Pedestals can be placed directly on the ground without fixing.
Silicone adhesive may be used for additional stability if required.
Place stone or tile pavers directly onto the pedestals. -
Use rubber shims where needed to correct for tile thickness variations.
-
Start paving in a corner and then continue along a wall edge for best alignment.
-
Place each paver onto its pedestal and adjust up or down to ensure every tile is perfectly level.
Return Policy
This is a payment claim under the Building and Construction Security of Payment Act 1999 NSW Section 13.
Full payment is required on all orders prior to pick-up and/or delivery. Goods remain the property of Kim’s Tiling Supplies until payment is received in full.
Inspection of Goods
1. Customers must inspect all goods immediately upon receipt to confirm that:
-
The items supplied are correct,
-
The order is complete, and
-
All products are free from defects or damages.
2. Any of the following issues must be reported in writing within 48 hours of collection or delivery:
-
-
Shortages
-
Damages
-
Breakages
-
Discrepancies
-
Incorrect supply
-
Returns & Claims
We reserve the right to reject any return request.
- Approved returns will incur:
-
30% handling / restocking fee, and
-
Any applicable freight or transport charges
-
Returns Will Not Be Accepted If:
-
No proof of purchase is provided.
-
More than 7 days have passed since the purchase date.
-
The return is due to change of mind.
-
Goods are opened, used, mixed, applied, installed, cut, or altered
-
Goods are not in their original, unopened packaging
-
Goods are custom orders, special orders, indent items, or products ordered specifically for the customer
For Online Orders, just complete the Return Request Form and send it to us.
Once we receive it, we’ll review your request and process the return
Lodge a Return
Related products
All Products

All Products
All Products